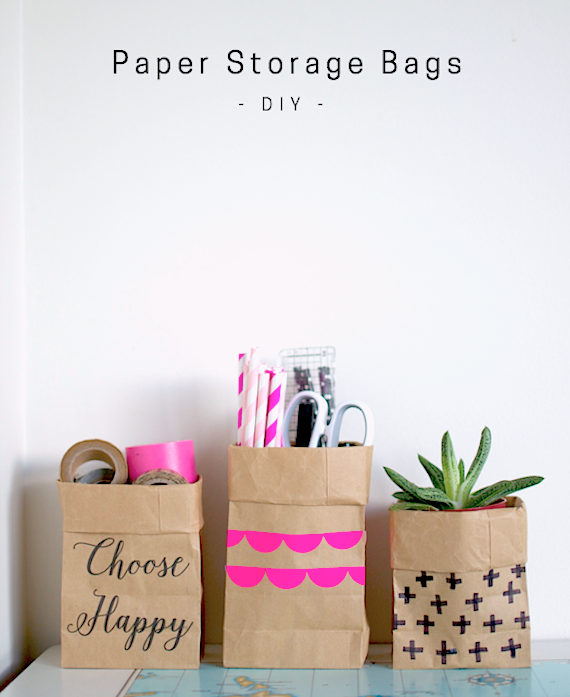
Washable paper bags are all the rage but sometimes a plain old paper bag will do. This little DIY shows you three ways you can customise yours.
Is anyone else completely obsessed with washable paper bags right now? I was trying to figure out how to make some for my desk until I realised that I didn't actually need to wash my paper bags, they could just be, you know, regular paper bags.
So I grabbed some bags that I bought from Etsy a while ago, got crafting and found three different ways you could decorate them in under five minutes, just because people who craft are obviously time poor. (insert emoji of laughing-with-tears guy here) I'm thinking that these DIY bags would also make really cute table centrepieces for a party, you could just pop a jar full of flowers in them. Also, you can use this tutorial to make party bags too, just fold them over instead of rolling them down when you're done decorating.
Materials
Paper bags like these ones.
Pink Stickers like these ones.
A black marker
A printer
A ruler
Directions
Pink Scalloped bag
Cut a row of stickers in half and pop them on your bag in a scalloped pattern. Then open up your bag and fold it down twice. It would also look really cool with triangles.
Black Crosses bag
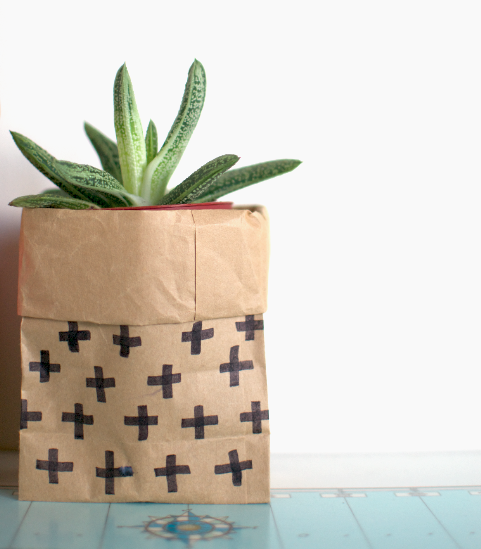
Get a caligraphy tipped marker and draw black crosses on it, you could also use a paint brush. Other patterns that would look rad are spots, thin lines and watercolour painted crosses. Or you could use metallic spray paint to turn it gold.
Quote bag
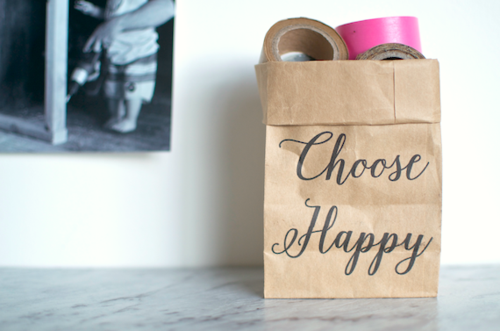
I used Microsoft publisher to print the quote on the bag so I'll just walk you through my steps, you can also do this in regular Word though.
Ok, first measure your bags with a ruler then open a new document and go to File + Page Setup + Manage Custom Sizes and create a new size called 'Fancy Bags' using the dimensions of your bags. Are you following? Next go to Insert + Text Box and write your quote using whatever font you like, I used Isabella. If your printer prints things the right way around, just ignore this next step but because my printer prints things upside down, I flipped my text around 180 degrees. (I couldn't just put the bag in the printer upside-down because they don't feed through properly unless they are the right way up.) Then I just popped the bag into the paper feed and pressed print.
Want to follow me on Facebook, Instagram, Pinterest, Twitter or sign up to my Mailing List? There are lots of ways to stay in touch! You can also 'pin', 'share', 'tweet' or 'like' this post using the buttons at the bottom of the post, xoxo babs





Lady! These are so cool. We are actually spirit animals though- I had planned to do these as a DIY on my blog! These are SO much better though.
Love these so much! You so clever! I’ve been wanting to get some brown paper bags for like, forever. I didn’t know where to start looking for them, but I do now!
Awesome. I heart this so much!! They look really easy too. So there is a good chance I wouldn’t stuff it up x
Oh no way! Still do them, I would love to see your take on them! And yes, spirit animals we are xoxo
Thanks luv, also, I think you can get them at Spotlight too. xoxo
Oh Yay, thanks darling. Anything that I make on this blog can be made by ANYONE! I have a very firm policy! xoxo
I freaking love these. Like LOVE love these! Like LOVE these so gonna make these kind of Love these xx
Love these!! So pretty!