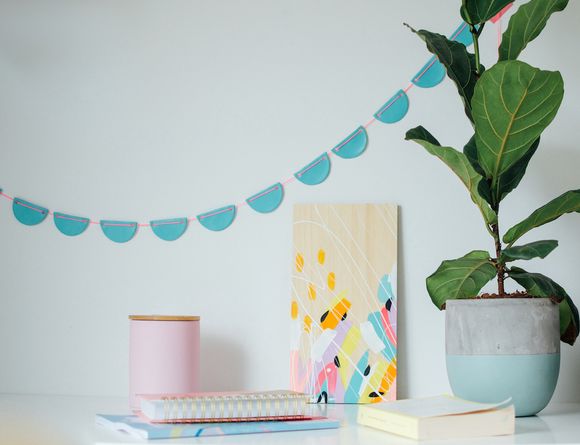
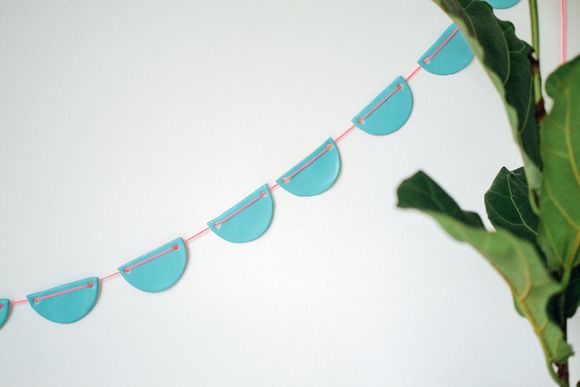
Air drying clay is quickly becoming one of my favourite craft materials, how cool is this DIY scalloped garland that I made with it! Want to check out the tutorial?
I'm loving how my latest project came out. It is one that has been in my mind a for a while but I just haven't had the time to get it out. It was really bugging me because there are a few blank spaces in my house that could do with a good-old garland/bunting/whatever you call these things.
Originally I was going to make it out of leather but WOW, have you seen how expensive leather is? If you know where I can get it at a good price please let me know.
I'm glad that I ended up using air drying clay because it was pretty easy, came out really solid and it feels really nice to touch. Is that strange that I like touching it? Because it's basically how I choose homewares, do I have an overwhelming urge to touch said item? Awesome. I'll take it.
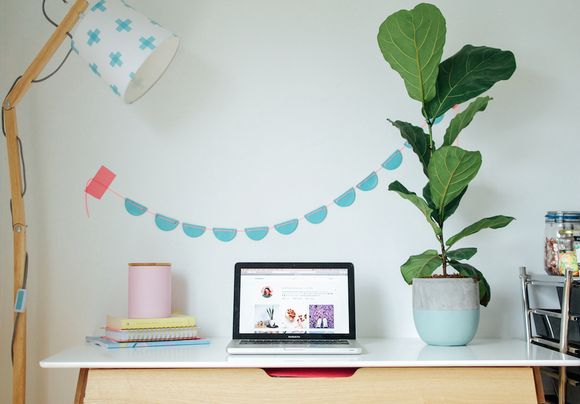
It is actually pretty heavy so I had to break out the thick washi tape to keep it on the wall, that's quality crafting right there. But I'm getting ahead of myself. Want to know how to make it?
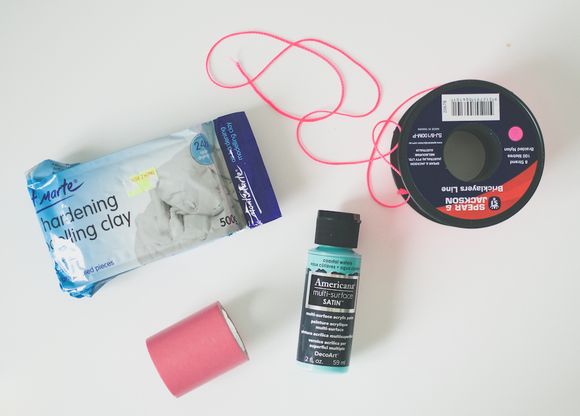
Materials
Air drying clay – you can get lots of different types but I used this Mont Marte one.
Bricklayers line
Acrylic paint
A straw
A circle cutter
A knife
A nail file
Directions
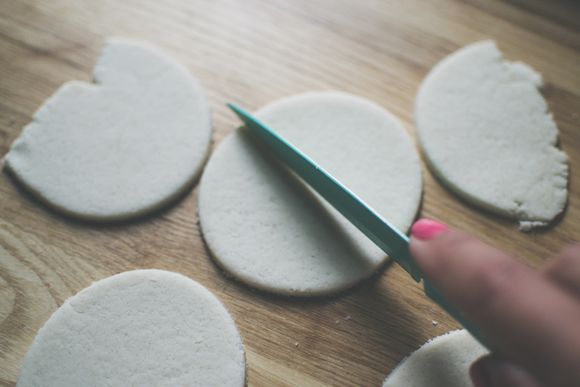
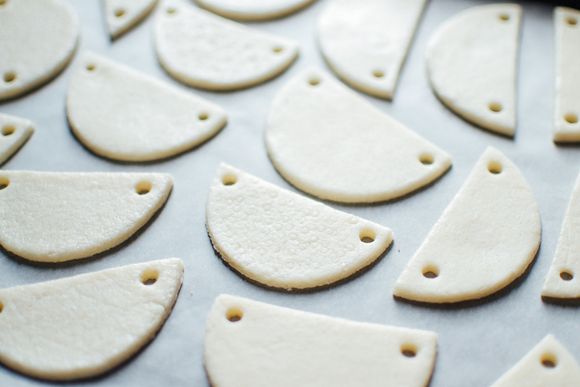
Roll out your clay on a piece of non stick paper so it's a nice even thickness, maybe 4mm. Cut it into circles and then cut the circles in half. The photos above are actually of salt dough, I tried that first but it didn't work out. My second attempt was at night so I couldn't photograph it. I'm just including these pictures for reference, don't stress if your clay doesn't look as smooth around the edges, mine didn't either. After each scallop was cut I just picked it up, dipped one of my fingers in water and smoothed out the edges with it.
OK sorry, back to the directions.
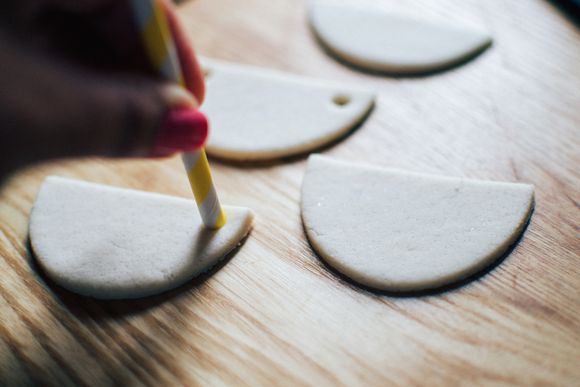
Now you're going to need to cut the holes, I just dipped a straw in water and poked them in but you can actually drill holes in this type of clay when it's dry if that seems more appealing to you.
Leave them overnight to dry, it is hot where I live so the clay dried really quick but you may want to pop them near a heat source if it's colder where you are. Next smooth any bits that are rough with a nail file and paint them with two coats of your chosen paint. I used Americana multi-surface SATIN in 'coastal waters' from Spotlight.
When they are dry just string the bricklayers line through the holes and you're done.
Happy crafting lovelies!
xox Babs
If you enjoyed this post and want to give me a virtual fist bump you can follow me on Facebook, Instagram, Pinterest, Twitter or sign up to my Mailing List. You can also 'pin', 'share', 'tweet' or 'like' this post using the buttons at the bottom of the post, xoxo babs







Babs I love this so much and I’m going to grab some clay to have some creative fun with.