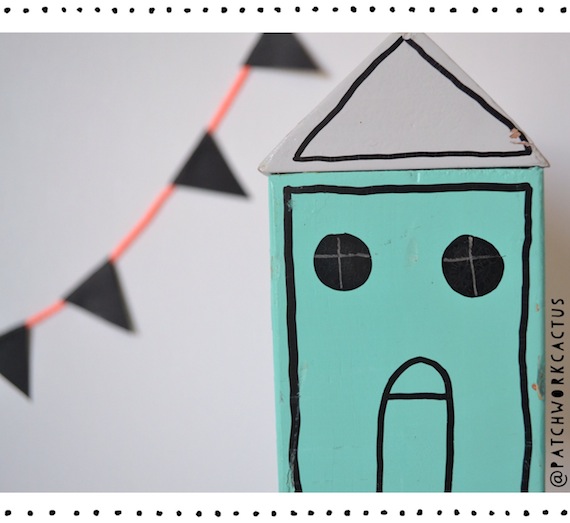
A mini paper bunting DIY tutorial – because crafting makes you feel like a not-busy person. And because neon and black go really well together. And because bunting is fun, good-clean-useless- fun.
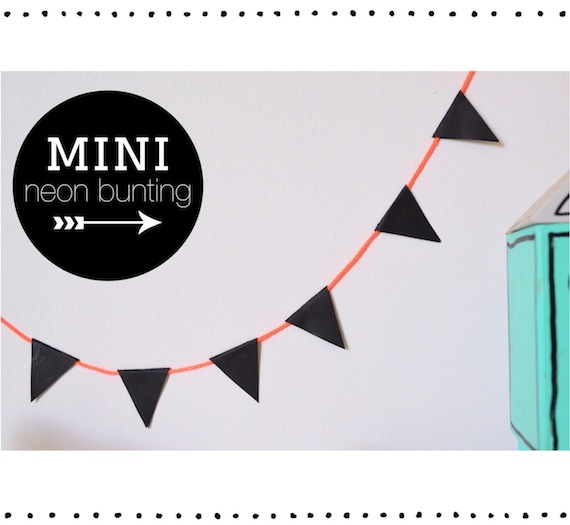
It's not just food that is always better in mini. Basically everything is better when it is small, well maybe not better but definitely cuter. Let's not start this discussion actually.
Ok start again. I was bored the other rainy day so I decided to grab the toddler and make some mini paper bunting. Originally I was making it to wrap around a birthday present but then I realised that the present was for my brother and he couldn't give a rats what was wrapped around his chilly plant so I decided to keep it for myself. I'm sweet like that.
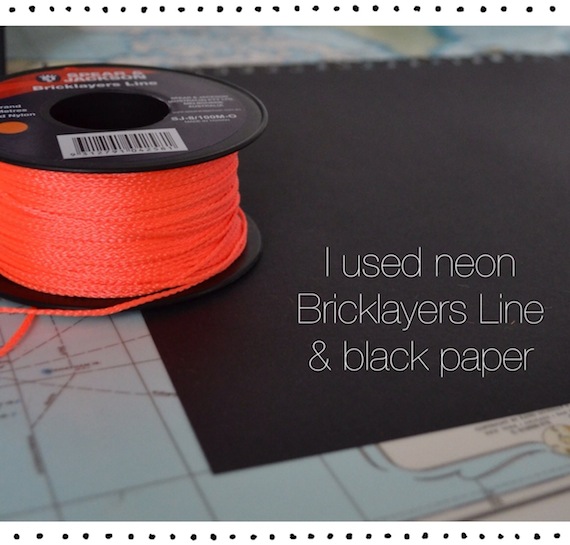
I like black (can you tell) I used to paint everything white but now I'm all about black so black paper it was. And I bought some amazing builders line from Bunnings months ago (it also comes in pink – yes I bought that too) and have been waiting for a moment to break it out. FOUND IT!
Want to make some of this lovely bunting?
You will need
1) Black paper (or whatever colour you want really) art paper thickness works the best
2) Neon Bricklayers Line – this stuff (or any string you want)
3) Scissors
4) A Glue Stick
Directions
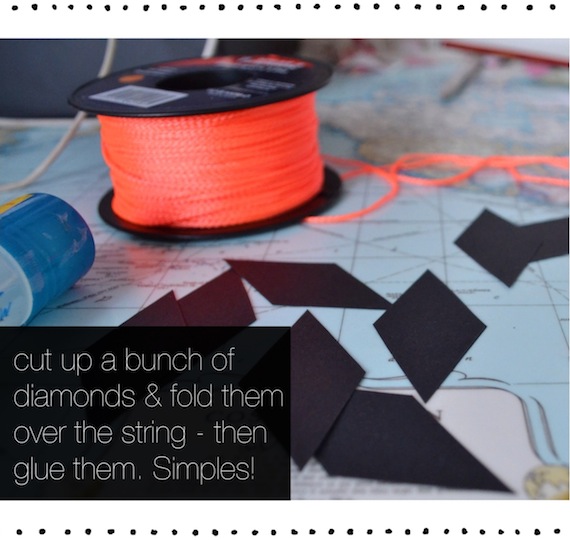
1) Cut your paper into lots of little diamonds. (I made a diamond stencil out of a piece of cardboard by folding it in half and cutting a triangle shape out of it. Then I traced the shape onto my paper a million times before I cut them all out.)
2) One at a time fold your diamond in half then slip it onto the string before using your glue stick to stick it together.
3) Rinse and repeat.
Random but If you're into the black and white thing right now go check out how I upcycled the blinds in my daughters room by putting duct tape crosses on them.
Just in case you are wondering what I use my mini bunting for here is a little list. Photoshoot props, instead of ribbon on gifts, doll house decoration, to stick on the front of cards, to create little vignettes in my home, for on top of birthday cakes, for tying together a theme at any type of event, as a great rainy day activity (my 3 year old can fold and glue the paper) and basically just to 'make pretty'.
Happy Crafting, Babs xoxoxox
If you enjoyed this tutorial and want to give me a virtual fist pump then follow me on Facebook, Instagram, Pinterest or Twitter. You can also 'pin', 'share', 'tweet' or 'like' this tutorial using the buttons at the bottom of the post, just sayin'
