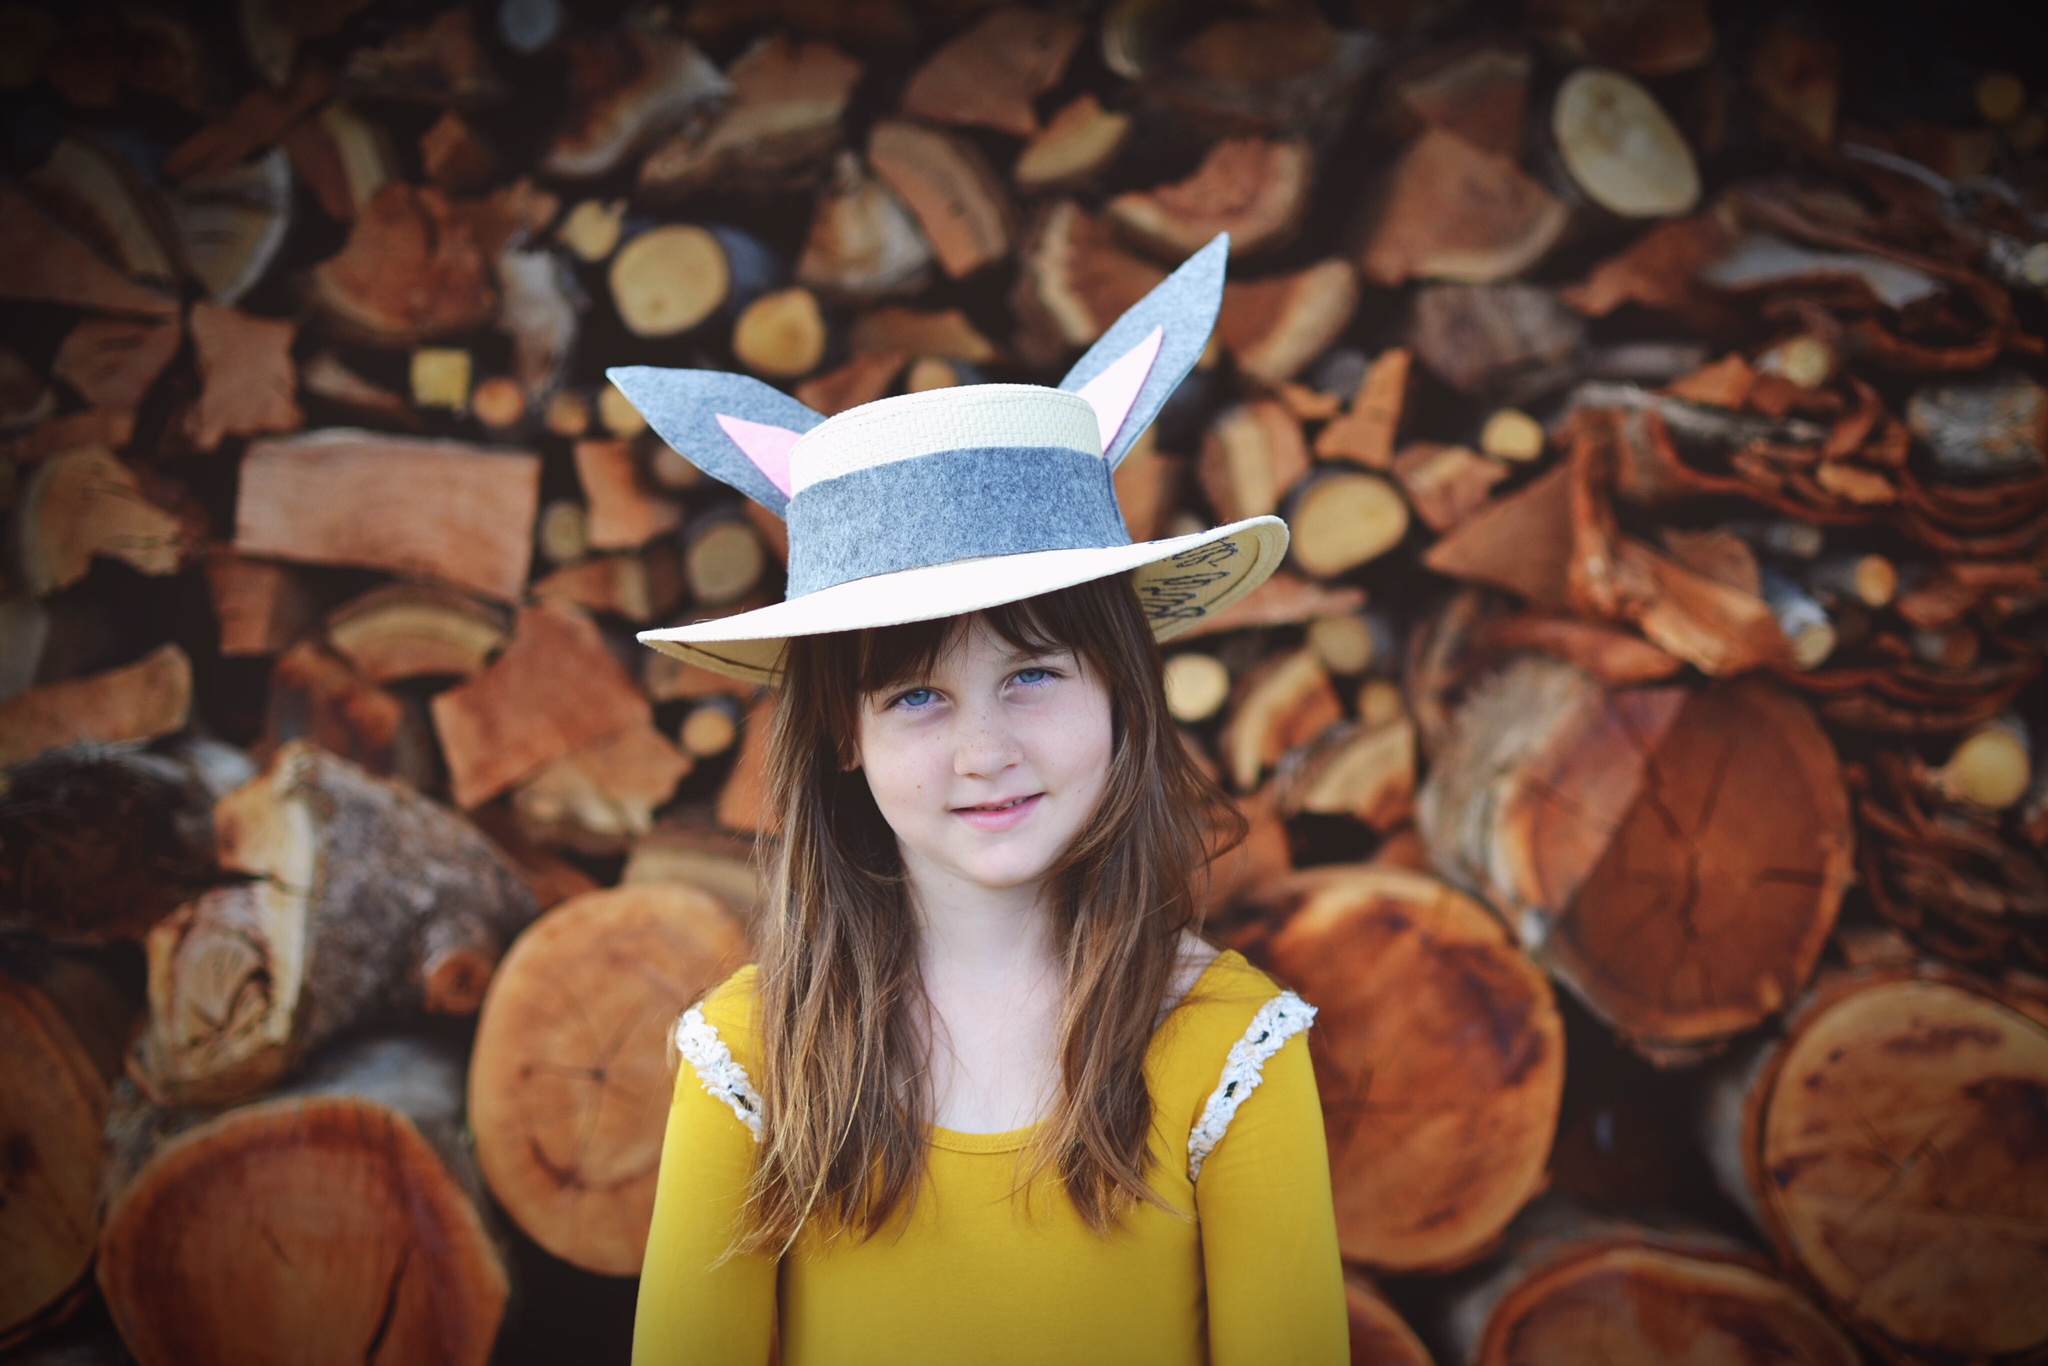
Easter Hat Parade ideas!
Come get your Easter Hat Parade ideas!
If you’re coming from anywhere but Australia you may be wondering what exactly I’m talking about? The Easter Hat Parade is a TOTALLY normal thing that happens in Aussie schools just before Easter. Kids (or parents) make cool hats and then walk around in a circle on a netball court in front of adoring parents and grandparents wearing them.
I went to a Catholic school so I never got to do it, we got to give confession instead.
Parents are firmly separated into two camps on this one. You either LOVE the Easter Hat Parade (and the crafting that comes with it) or you HATE it.
I get it, life is busy, craft is hard and not everyone owns a glue gun.
So with this in mind, I put together two (relatively simple) ideas that any parent can achieve. No sewing or military skills needed.
The Bunny Boater Easter Hat
Materials
- One straw hat – this one is from Kmart
- Grey and pink felt – you can use any colour you want though.
- Craft glue that dries clear
- Stiff cardboard
- Chalk (optional)
- Scissors
Directions
Cut the first ear shape out of your grey felt – I freehanded it but you can draw it with chalk first so you have a good guide. Now, use the first ear as a stencil to cut out the next. Don’t be afraid to make it really long as it has to stick a good bit over the top of the hat.
Now cut the inner ears out using the same steps and glue them on to the grey ear shapes.
If your felt is floppy you’re going to need to stick some stiff cardboard on the back of both ears and trim around the edges, this will keep them standing up.
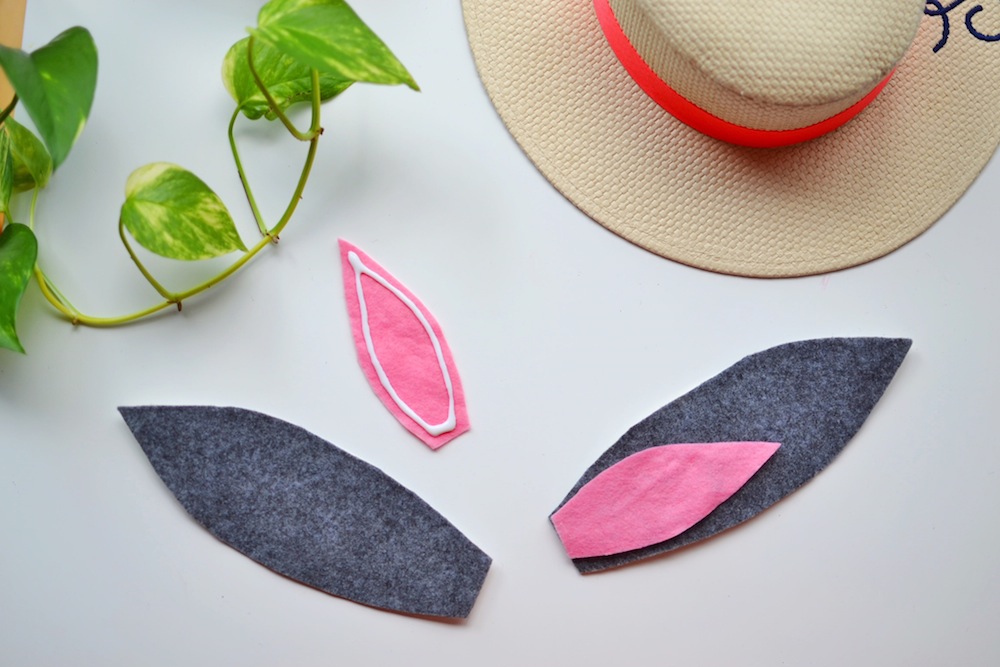
Next, you want to cut some strips of felt to make the ribbon around the hat, you can use something else but felt is so easy to work with, it’s my go-to.
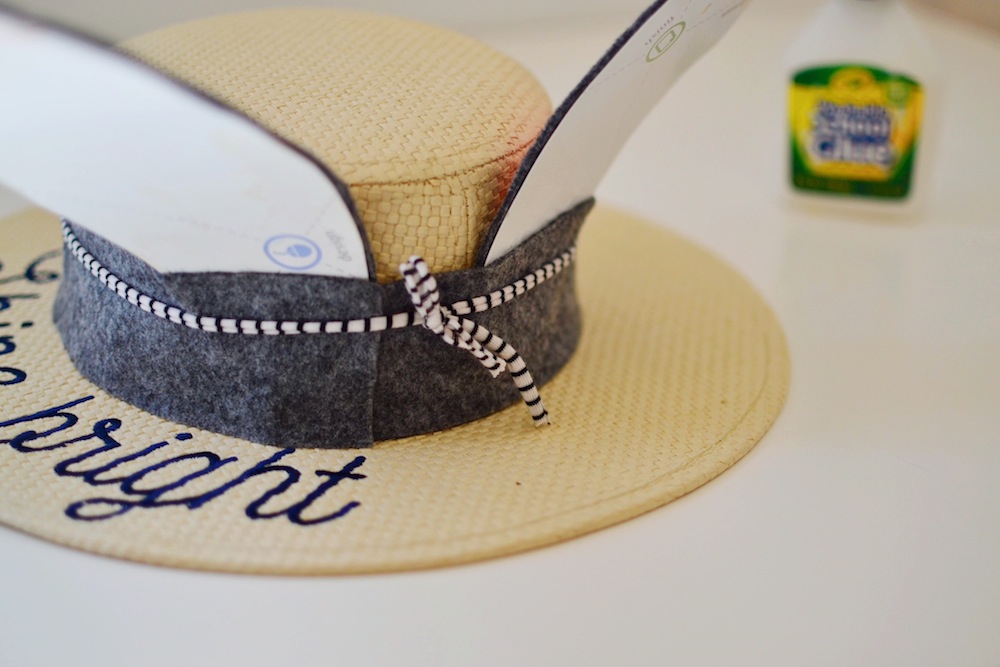
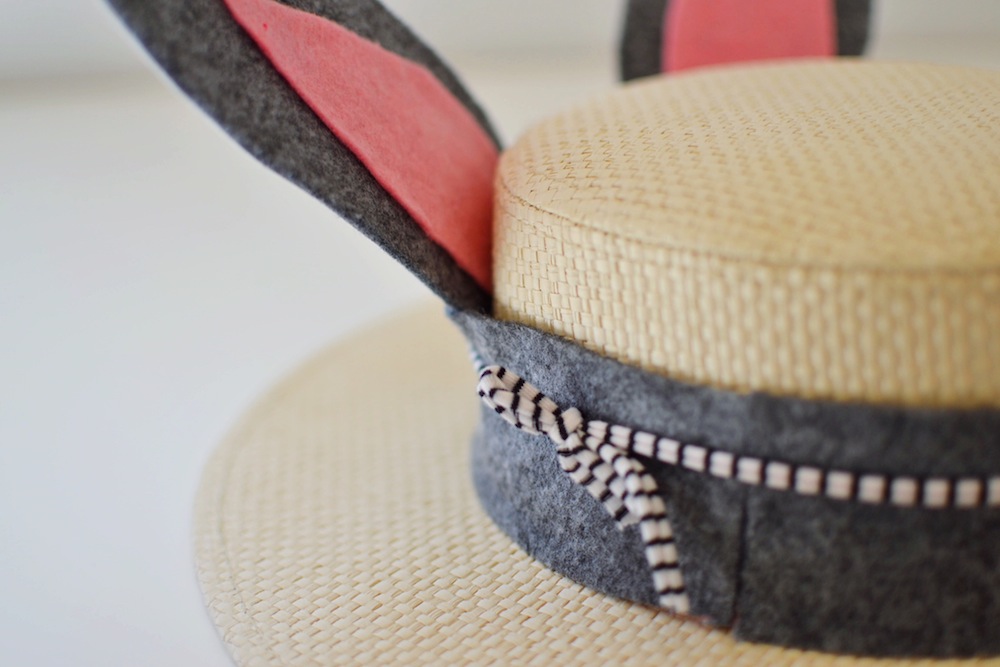
Now glue the ears to the back of the hat and glue the felt strips over the top of them. It is a bit of a tricky step but once they are all stuck on you can tie some string around the whole lot to keep them in place until the glue dries.
Now give yourself a high five! That was a solid effort.
Easter Crown
Materials
- Navy, yellow and pink felt – you can use any colour you want though.
- Craft glue that dries clear
- Pom Poms
- Chalk (optional)
- Scissors
- Ribbon
- Googly eyes
Directions
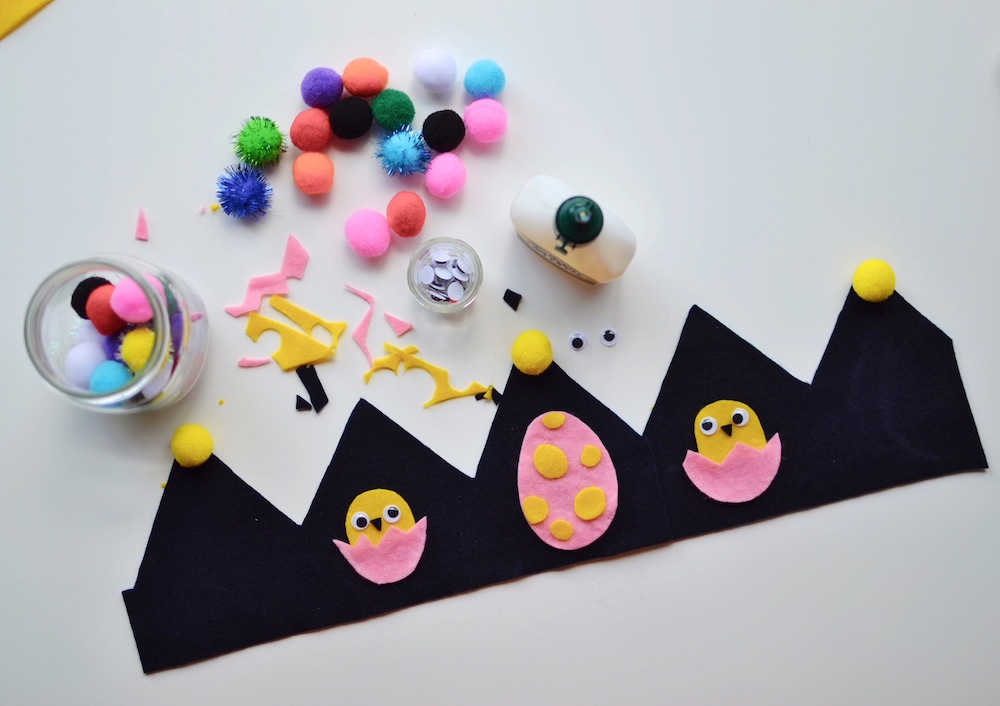
Lay out two pieces of navy felt* next to each other (long ways) with a 4cm overlap in the middle. (The overlap is where you will glue them together.) Draw the shape of a crown on it with the chalk and cut along it. Then glue the pieces together.

While they are drying, cut the Easter egg and chick shapes out of the pink and yellow felt – have some fun with it, add eyes, spots, stripes and shapes. Now glue them on and fancy the whole thing up with some pom-poms.
Next, measure your child’s head to see if the crown is big enough. If it is, glue it together where it needs to be (you can fasten the seam with two pegs while the glue dries.) If it’s not big enough just fasten some ribbon to both sides of it so you can tie it up. We used a stapler. Don’t laugh, staplers work really well with felt!
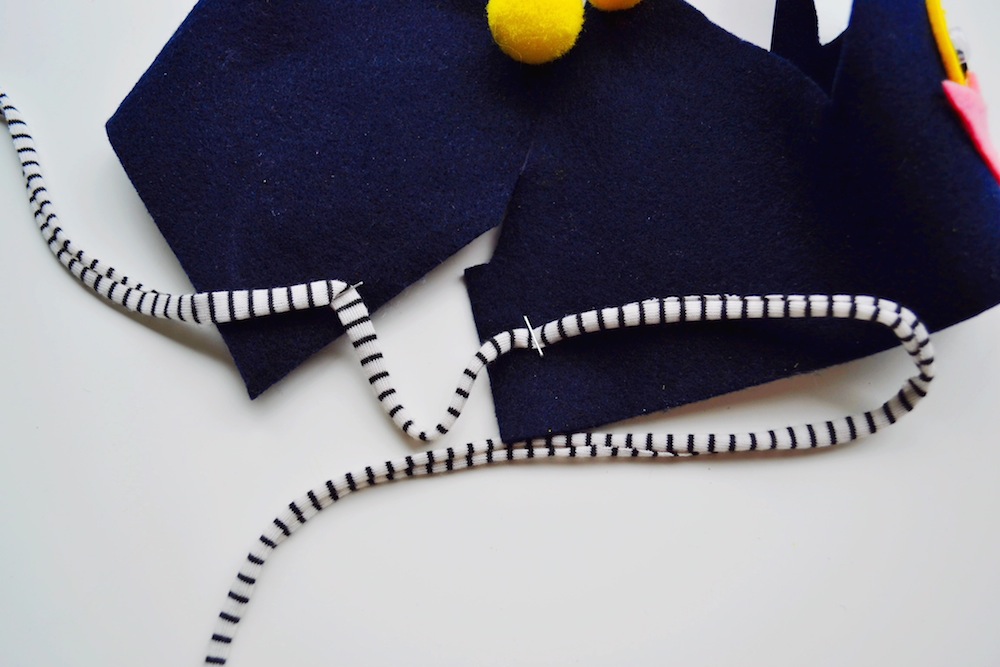
*You can create the crown with just one piece of A4 felt, but using two is easier. It’s always good to leave some wiggle room for mistakes.
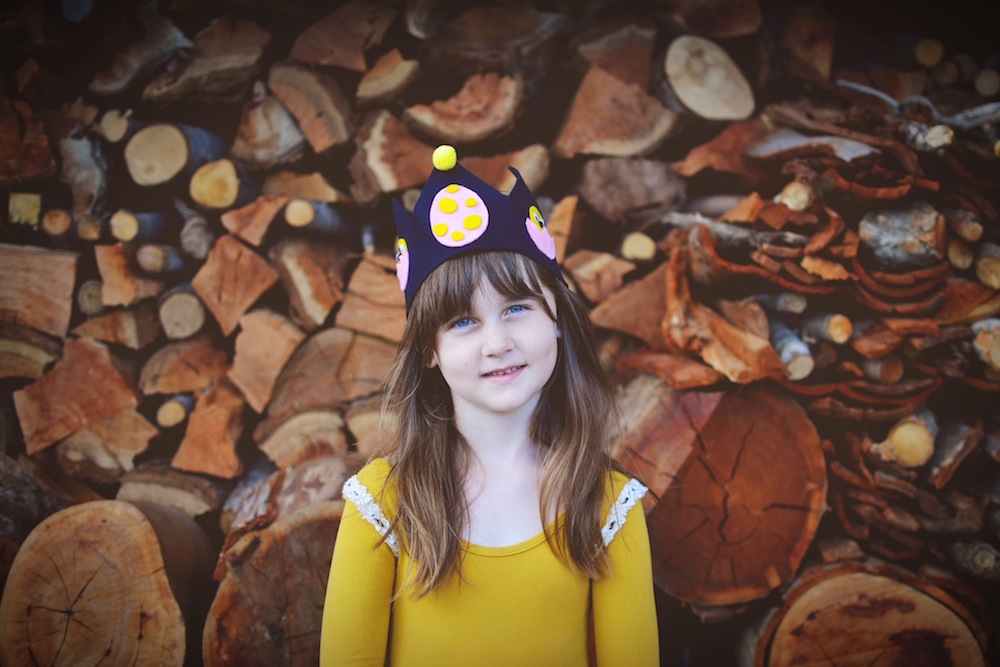
Thanks to Pinch Me Beautiful for letting me borrow her daughter – mine was not in the mood that day.





Thank you ever so for you post.Much thanks again.
Thank you ever so for you post.Much thanks again.