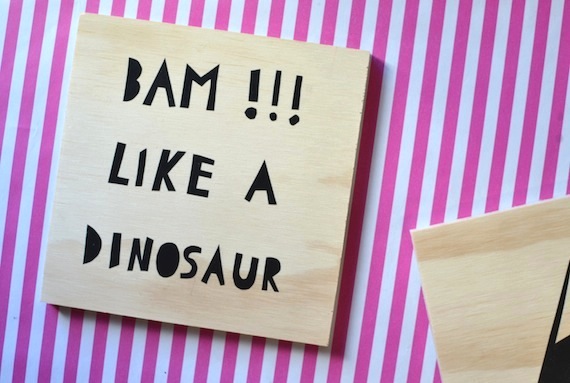
I love plywood, she loves dinosaurs. So I got crafty and whipped up some DIY plywood wall art for her new bedroom. Bam!!! like a freakin dinosaur.
Hi there, I'm such a cliché ; Spring has sprung and all of a sudden I have DIY tutorials coming out my ears. Literally! Not actually literally, obviously. But I do have a lot in my head.
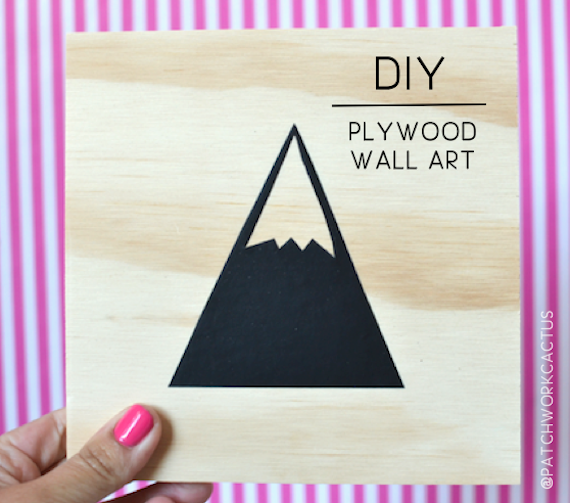
So plywood is my new favourite thing and the hubbster just bought a new drop saw – have a squiz at what we just whipped up. How cool are these DIY plywood wall art thingys? I use the word 'art' for lack of a better one, wall accents? Design items maybe? Anyway, they are the first thing I have made for the kid's new bedroom and I love how they turned out. The bedroom is completely gutted right now but I will be sharing our progress soon, when there is progress. I should really stop bogarting the drop saw on that note.
You can make these simple little pictures too, they were so so so easy and now I just want to make about a million of them so if you have a birthday coming up and I'm your friend, surprise! This will probably be your next present. Hope you like quotes that don't really mean anything.
Materials
Plywood squares – I got my handy hubby to cut them for me with the drop saw and gave them a quick sand, but a lot of hardware stores will actually cut them up for you. You also need black contact and scissors. I have left these unfinished because I really like the raw look but if you wanted more durability you could always lacquer them. I'll let you know how they fare by editing this post if the contact starts to peel. If you want to trace lettering you will also need baking or tracing paper and a pencil but I'll get to that in a second.
Directions
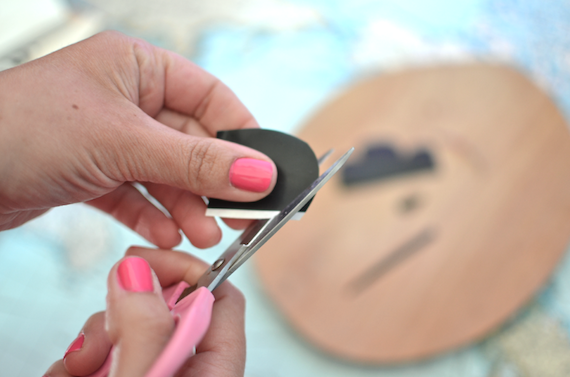
This really is as simple as cutting whatever shape you want out of contact and sticking it on your plywood. Just make sure you give the plywood a good rub with a towel so there is no dust on it before you stick on your sticker.
For the quote I typed it up on my iPad using Paper Cut font then put some baking paper over it and traced it right off the screen. Next I laid out the contact so the backing was facing up, flipped the baking paper over so the pencil side was facing down and laid the baking paper on top. Are you following? Note 'Baking' and 'backing' are two different words. Next I used a rubber to press on the back of the lettering and transferred it to the contact backing paper. If you have a printer that actually works when it should you could print your quote straight onto the back – but remember to flip the image around so it is mirrored or everything will be backwards.
I feel like there should be more to say but it really was that simple. If you do give this tutorial a go then make sure to share your results and tag me in the pic so I can check it out. Happy crafting lovelies.
If you enjoyed this tutorial and want to give me a virtual fist bump you can follow me on Facebook, Instagram, Pinterest or Twitter. You can also 'pin', 'share', 'tweet' or 'like' this post using the buttons at the bottom of the post, xoxo babs


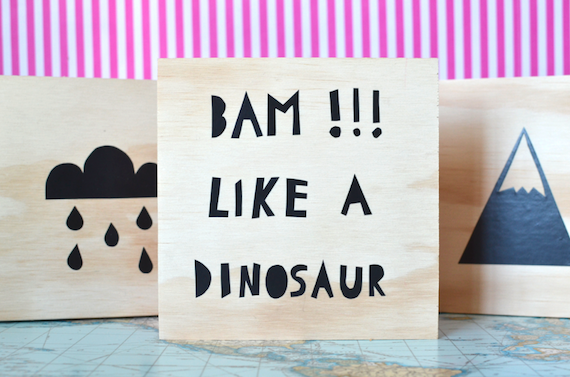






How cool – I love the rain clouds! Great DIY. Bec x
Totally just pinned these for a newsletter and OMG you have inspired me to for a little project with a whole group of smaller woodblocks I have as cut offs!
These are lovely, Babs. What a cute idea. I don’t know if I would have the patience for working so intimately with contact paper… I have enough problems covering the school books!! x
The clouds came up really cute, hey? They were so easy!
hahah, I put them in my newsletter! Too funny. I can’t wait to see what you do!
These are easier than covering books, no bubbles! I like fiddly thing, I would have been a great factory worker – lol.
Bam Babs – youve done it again chick! Love it and I love your lettering xx